

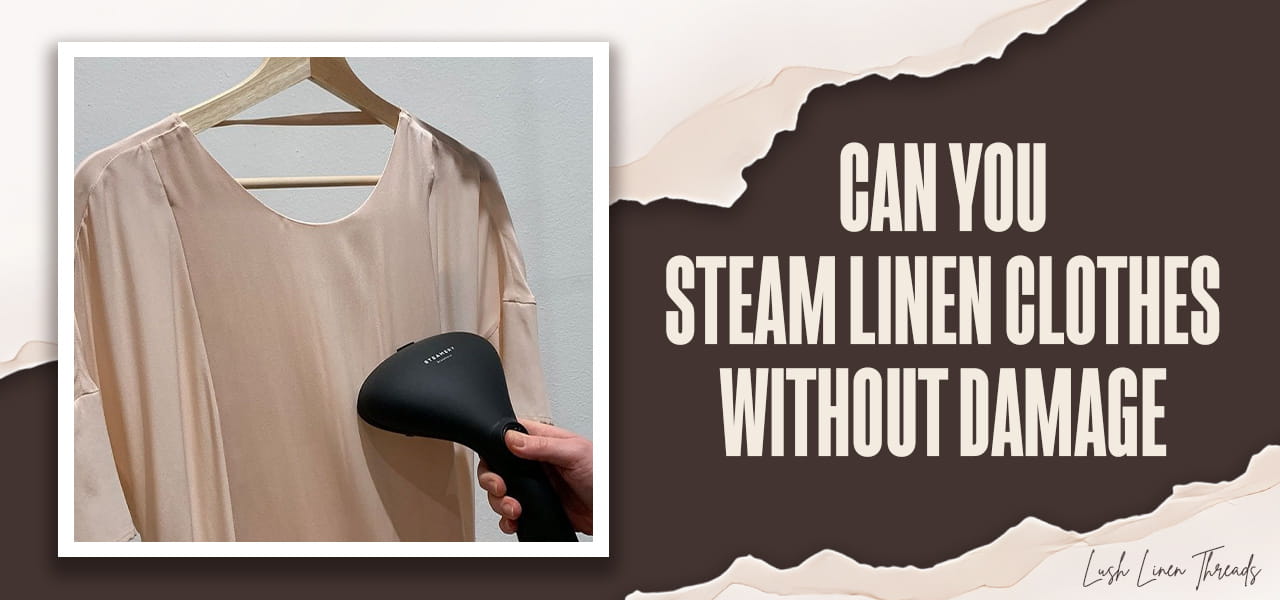
Linen looks effortless—until wrinkles show up right before you head out. Can you steam linen clothes without water spots, shine, or a stretched shape? In most cases, yes—if you control distance, motion, and moisture. This Steam-Safe Linen System gives you predictable results, plus easy-care guidance from Lush Linen Threads.
Can You Steam Linen Clothes Without Damage
Safe steaming starts with the care label, but results also depend on a few small technique choices. This section covers when steaming makes sense, what keeps it low-risk, and when it’s better to slow down and test first.

When Steaming Linen Is a Yes
Steaming is a solid choice for most linen pieces when the care label doesn’t restrict heat or steam. Linen responds quickly to gentle moisture and warmth, so it smooths out without needing the pressure that can flatten texture. It’s especially useful when you want to keep the fabric’s natural drape—like on dresses, wide-leg pants, and relaxed shirts—or when you just want a clean reset between wears. When in doubt, start with Step 1 before you steam the full garment.
Three Rules That Prevent Damage
Damage usually comes from three things: too much moisture, too much pressure, or too much tension on the fabric. Avoid pressing the steamer head into linen or “scrubbing” back and forth, especially on dark colors where surface marking shows more easily. Finally, support shape zones (plackets, pocket edges, waistbands, and bias-cut areas) with your free hand, so you’re relaxing wrinkles without stretching the garment out of line.
When You Should Not Steam Linen
Skip steaming when the label warns against it or calls for very low heat, since forcing it can change the surface or the structure. Be cautious with pieces that have delicate finishes, heavy sizing, or coatings you can’t identify—steam can leave uneven texture that’s hard to fix. Also, avoid over-steaming structured areas you want to stay crisp, such as certain interfacing and lined sections, because heat and moisture can soften them or cause rippling. If you’re unsure, treat steam like a test—not a commitment. One small hidden pass tells you more than guessing.
Use steam when the label allows, keep moisture light (and movement steady), and spot-test first if the finish or dye seems sensitive. Lush Linen Threads linen is made to relax smoothly with gentle steam and hold its shape once it cools.
A Simple Steam Method That Works Every Time
This method is built for repeatable results. The goal is simple: smooth the surface without over-wetting the fabric.
The Goal Is Warm and Relaxed, Not Wet:
Done right, linen should feel lightly warmed—not damp. Most steaming problems come from over-wetting: droplets, stretched edges, and uneven texture.
Why This Works:
Linen relaxes with gentle heat and light moisture, but most problems come from over-wetting or pulling the fabric while it’s warm. This method focuses on repeatable controls—distance, motion, and cooling—so results stay consistent across 100% linen and common blends.
The Steam-Safe Linen System (Step by Step):
Steam is hot enough to burn skin, so keep your hands clear of the steam path and avoid steaming while wearing the garment.
Step 1: Check the care label and do a small test
Confirm the fabric content and heat guidance, then steam a small hidden area and let it dry. This quick check helps you avoid unpleasant surprises.
Step 2: Fill the steamer with clean water and heat it fully
Let the steamer fully heat so you get steady steam. Spitting often happens when it isn’t ready or when the flow is uneven.
Step 3: Hang the garment and prep the fabric in 60 seconds
Use a sturdy hanger. Smooth pockets, plackets, waistbands, and any folded areas. If the fabric is dark or prone to surface marking, turning it inside out can help.
Step 4: Steam in sections from top to bottom at the right distance
Hold the head 2–5 cm (1–2 inches) away. Move downward in slow passes. Don’t park the steamer in one spot. You want relaxation, not saturation.
Step 5: Focus on the zones that make linen look polished
Prioritize the high-visibility zones—collar, cuffs, placket, hems, and waistband. These details decide whether the outfit reads as “polished,” even with linen’s natural texture.
Step 6: Let it cool fully before wearing or storing
Hang it for a few minutes so the fibers cool and the finish holds. This is the easiest way to stop wrinkles from returning immediately.
Step 7: Use a brief press only if you want a crisp edge
If you want sharp cuffs, a collar edge, or a defined trouser crease, steaming alone may not lock it in. Steam first, then do a quick press (ideally with a press cloth) to reduce shine risk.
After a few runs, this becomes a quick reset you can do in minutes—no guesswork, no overthinking.
Linen Steaming Settings for Consistent Results
To get consistent results with steam, start with the defaults below, then adjust based on the garment type and the care label.

Steaming Settings by Item Type:
Use this table as your “default settings” starting point. Always adjust if the care label says otherwise.
|
Item |
Steam level |
Distance |
Motion |
Stop when |
Finish goal |
|
Shirts, pants, dresses, tops, and home linens |
Medium–High |
2–5 cm |
Top-to-bottom passes in sections |
Wrinkles relax, and the surface looks even with no damp patches |
Smooth with natural drape |
|
Collars, cuffs, waistbands, pockets |
Medium |
3–5 cm |
Short passes + light tension |
Smooth, not glossy or wet |
Clean lines and neat edges |
|
Linen blazer exterior |
Medium |
3–5 cm |
Short passes, minimal steam |
Surface relaxes without softening |
Refreshed, structured look |
What to Do and What to Avoid
For cleaner results, focus on the “behind-the-scenes” factors people often miss. Keep your steamer maintained as recommended by the manufacturer, since mineral buildup and residue are common causes of spotting. Skip heavy fragrance or product sprays right before steaming because heat can set residue into visible marks. And once you’re done, don’t fold or pack the garment immediately—give it a moment to settle so you don’t create fresh creases.
Choosing a Relaxed or Crisp Finish
Decide on the finish first. A relaxed finish keeps linen’s natural texture and simply smooths the most visible wrinkles. A crisp finish is more structured, so steaming is just the prep, and a brief press is what holds sharp edges. If you want both, keep the garment relaxed overall and sharpen only the high-visibility zones like collars and cuffs.
Pick your finish first: relaxed (steam only) or crisp (steam, then press edges). That one decision makes every step faster.
Steamer vs Iron for Linen Finish Control At Home
Many people hope steaming can replace ironing completely, but it really comes down to the finish you want. Steam is best for smoothing wrinkles while keeping linen’s natural drape, and an iron is what creates sharp edges and sets creases.
When a Steamer Is the Better Choice
A steamer is the go-to tool when you want linen to look smoother while keeping its natural drape. It’s especially useful for everyday pieces like dresses, wide-leg pants, and relaxed shirts because it refreshes the surface quickly and is less likely to create shine from heavy pressure. It also fits real life—easy touch-ups between wears, and travel-friendly smoothing without needing a full setup.
When You Still Need an Iron
An iron is the better choice when you need structure. Deep fold lines, crisp hems, and sharp edges on collars and cuffs usually require pressure to set a clean line. If you want the most reliable result, use a simple hybrid approach: steam first to relax the fabric, then press briefly only on the areas that need definition.
What You Gain With the Steam Routine
This routine keeps your linen looking polished without turning care into a big project. Steaming smooths wrinkles quickly with minimal contact, so you’re less likely to end up with that over-pressed look or unwanted shine. You get a clean, wearable finish that still feels like linen—light, breathable, and naturally textured—then you can save ironing for the small areas where sharp lines actually matter, like collars, cuffs, and crisp hems.
In practice, you don’t have to pick one tool forever. Use steam for the overall look and save ironing for the few details that truly need precision—then the finish stays intentional without adding extra effort.
Fix Linen Steaming Problems Without Guesswork
When steaming goes wrong, it usually shows up as spots, spitting, or small shape shifts—and each has a simple fix.

Water Spots and Spitting Steam
If you see spots, the cause is usually the water or the steamer—not linen itself. Mineral-heavy tap water can leave marks as droplets dry, and a steamer may spit when it isn’t fully up to temperature or when the nozzle has residue buildup. The cleanest fix is to switch to distilled water if spotting repeats, then make sure the steamer is fully heated before you begin. If the output still feels uneven, follow the manufacturer’s cleaning or descaling steps so the steam flow becomes steady again.
Shrinkage, Stretching, and Shape Control
Steaming rarely shrinks linen the way washing and tumble drying can, but it can temporarily soften fibers while the fabric is warm. That can make certain areas look slightly relaxed—especially around necklines, bias-cut panels, and softer seams. The simplest way to stay in control is to avoid pulling or reshaping while the fabric is hot, then hang it until it returns to room temperature before you judge the fit. If something looks off mid-stream, pause and reassess after it settles.
Odor Refresh Without Overclaiming
Steaming can reduce light, everyday odors by warming the fabric—especially if you let the garment air out afterward. It won’t replace washing for strong or persistent smells. Use it as a between-wear refresh, then wash and dry fully when the fabric needs a true reset.
Knowing what’s behind spotting, softening, and lingering odor makes steaming feel predictable instead of risky. This is the same practical care mindset you’ll see across Lush Linen Threads—linen that’s meant to be worn, not fussed over.
Common Questions About Steaming Linen Clothes
This mini FAQ pulls together the questions people ask most when they want linen to look smooth without guesswork. Use it as a fast reference when you’re short on time or just want a clear answer before you start.

Can you steam linen clothes instead of ironing them?
Yes, for most wrinkles and everyday smoothing. If you want sharp creases or crisp edges, steam first and do a brief press for structure.
What setting should I use to steam linen?
Use medium to high steam if the care label allows it. As a default, start at medium, hold 1–2 inches (2–5 cm) away, and increase only if wrinkles aren’t relaxing without damp patches.
How far should a steamer be from linen fabric?
About 1–2 inches (2–5 cm). This distance prevents damp patches and reduces water spotting risk.
Does steaming linen shrink it or change the fit?
Steaming usually won’t shrink linen like washing and drying can. It can relax fibers temporarily, so avoid over-steaming areas that can stretch, and let the garment cool fully.
Why does steaming linen leave water spots?
Most often, it’s minerals from tap water, residue in the steamer, or spit droplets. Distilled water and proper heating help a lot.
Can you steam linen blends the same as 100% linen?
Sometimes, but not always. Linen-cotton is usually forgiving; linen-viscose can show watermarks more easily. Follow the care label and test a hidden area.
How do you steam a linen collar and cuffs without shine?
Steam lightly from 2–5 cm away, avoid lingering on one spot, let it cool flat, and press briefly with a cloth only if you want a crisp edge.
If something looks off, pause, let it cool, and retest on a hidden area—most issues come from too much moisture or too much tension.
So, can you steam linen clothes in a way that still looks natural day to day? Yes—once you know what to watch for, the routine feels simple, and linen stays effortlessly presentable. That calm, practical standard is exactly the Lush Linen Threads way of wearing and caring for linen.


